
Que faut-il faire avant de démarrer la plaqueuse de chants ?
2026-05-15
Effectuer une préparation complète avant de démarrer la plaqueuse de chants est essentiel pour éviter les pannes mécaniques, une mauvaise qualité de pose de chants et les accidents de sécurité. L'inspection standard avant démarrage peut prolonger la durée de vie de la machine, réduire le gaspillage de panneaux et de bandes de chant et garantir une production continue et stable. Vous trouverez ci-dessous la liste de contrôle complète, étape par étape, que vous devez suivre avant d'utiliser une plaqueuse de chants.
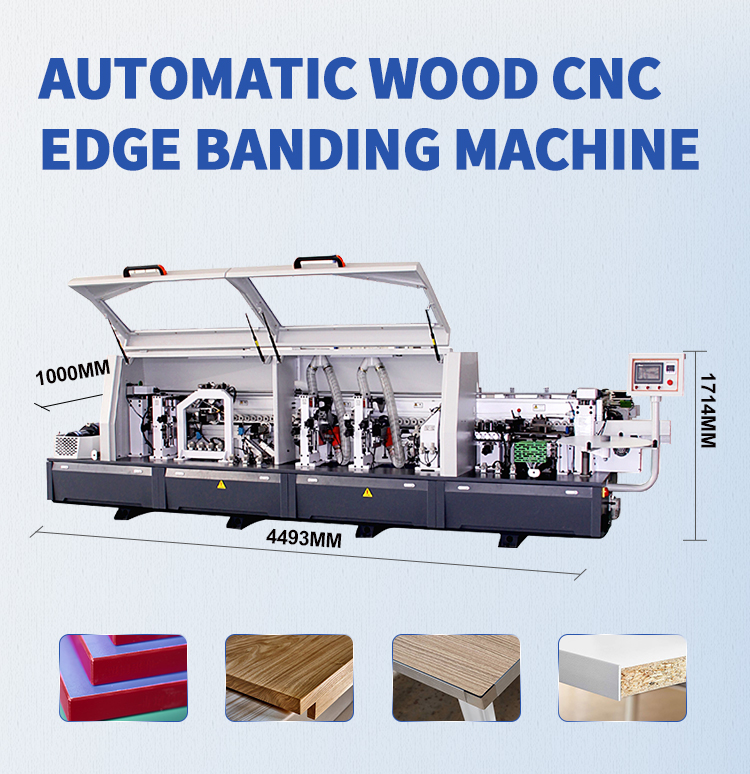
1. Contrôle de sécurité et d'environnement
Avant toute opération, vérifiez d'abord l'environnement de travail et la protection de sécurité.
· Keep the machine surface and surrounding area clean, remove wood chips, dust and sundries.
· Confirm emergency stop button is in normal reset state, not locked.
· Check safety protective covers and guards are installed firmly without damage.
· Ensure the ground is dry and non-slip to avoid operator slipping risk.
2. Inspection des circuits et de l'alimentation
Une alimentation électrique stable est la condition préalable au fonctionnement normal de la plaqueuse de chants.
· Check the power wiring is intact, no aging, exposed wire or loose connection.
· Turn on the main power switch and confirm the control panel displays normally without error codes.
· Check all control buttons, touch screen and indicator lights respond sensitively.
· Ensure voltage matches the machine rated parameter to avoid motor burnout.
3. Vérification de la pression atmosphérique et du système pneumatique
La plupart des plaqueuses de chants automatiques dépendent de composants pneumatiques pour fonctionner.
· Turn on the air compressor and check the air pressure value reaches the standard working range.
· Inspect air pipe and connector for air leakage.
· Drain water from the air filter and oiler, add lubricating oil if insufficient.
· Confirm pneumatic cylinders and solenoid valves work flexibly without stuck failure.
4. Lubrification et inspection des pièces mécaniques
Une inspection et une lubrification régulières réduisent l’usure mécanique.
· Check linear guide, chain, gear and transmission parts for wear and abnormal noise.
· Add lubricating oil to required lubrication points according to the manual.
· Check conveyor belt, feeding roller and pressing roller for deviation, wear or damage.
· Fasten all loose screws, bolts and fixing parts on the machine body.
5. Système de colle et préchauffage de la température
La fusion de la colle et le contrôle de la température affectent directement l'effet de liaison des bords.
· Clean the glue tank, remove residual old glue and impurities.
· Add qualified hot melt glue suitable for edge banding material.
· Turn on the heating system, preheat the glue pot to the standard temperature.
· Wait for the glue to melt fully, check glue fluidity to avoid insufficient melting or overheating.
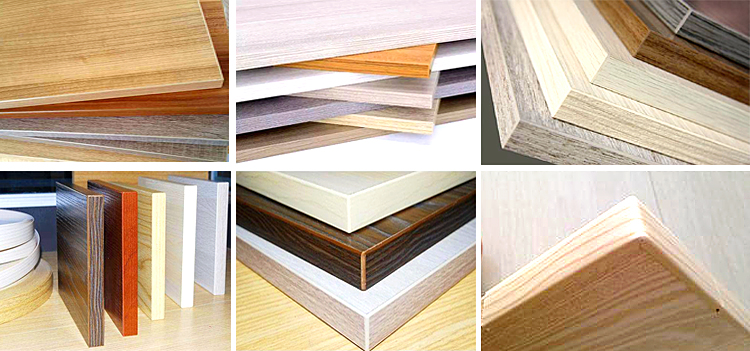
6. Bande de chantPréparation du matériel et du panneau
Préparez à l’avance les matières premières pour qu’elles correspondent aux paramètres de la machine.
· Select qualified edge banding tape with matched width and thickness.
· Place the edge band roll correctly on the material rack, keep it smooth without bending.
· Inspect the processing boards for flatness, no obvious deformation or burrs.
· Set board thickness and processing size parameters on the control panel in advance.
7. Test d'essai sans charge
Ne traitez pas les tableaux formels directement après leur préparation ; effectuez d'abord un test à vide.
· Start the machine for idle operation for 3–5 minutes.
· Check each working station: feeding, gluing, trimming, scraping and polishing run smoothly.
· Listen for abnormal noise, vibration or jamming during operation.
· Adjust speed, glue amount and trimming position according to trial running status.
Conclusion
Les travaux préalables standard pour la plaqueuse de chants couvrent la sécurité environnementale, le circuit, le système pneumatique, la lubrification mécanique, le contrôle de la température de la colle, la préparation du matériau et l'essai à vide. Le respect strict de ces étapes peut réduire considérablement le taux d’échec, améliorer la qualité de finition des bandes de chant et garantir l’efficacité de la production en atelier. Si vous avez besoin de conseils d'utilisation et de maintenance professionnels pourmachines à plaquer les chants, n'hésitez pas àContactez-nouspour plus de soutien.